YouTube Subtitle Translator tools are essential for making video content accessible across languages. As YouTube continues to grow globally, translating videos has become necessary for creators and viewers.
Whether you’re a content creator aiming to reach a wider audience with multilingual subtitles, or a viewer looking to convert YouTube videos into translated text, this guide covers practical solutions. We’ll walk through simple, effective methods to help break language barriers and make the most of subtitle translation on YouTube.
Click below to jump to the section that suits your needs quickly:
- For YouTubers or Video Creators: Learn how to translate your videos and add subtitles to reach a global audience.
- For Video Audiences: Discover how to translate or convert YouTube videos into text for personal use.

Translate Your YouTube Videos Effectively as a Video Creator
Translating your videos is a powerful strategy to connect with a global audience on YouTube. Adding multilingual subtitles not only makes your content accessible to people worldwide but also boosts engagement and helps grow your channel. Whether you choose an advanced AI tool like Clipto.AI or take advantage of YouTube’s built-in features in YouTube Studio, there are effective ways to ensure your videos reach a broader audience and create a lasting impact.
Option 1: Generate and Translate Video Subtitles via Clipto.AI
Clipto.AI is an advanced AI-powered video translator tool designed to streamline the process of creating and translating video subtitles. Here’s how you can use it effectively:
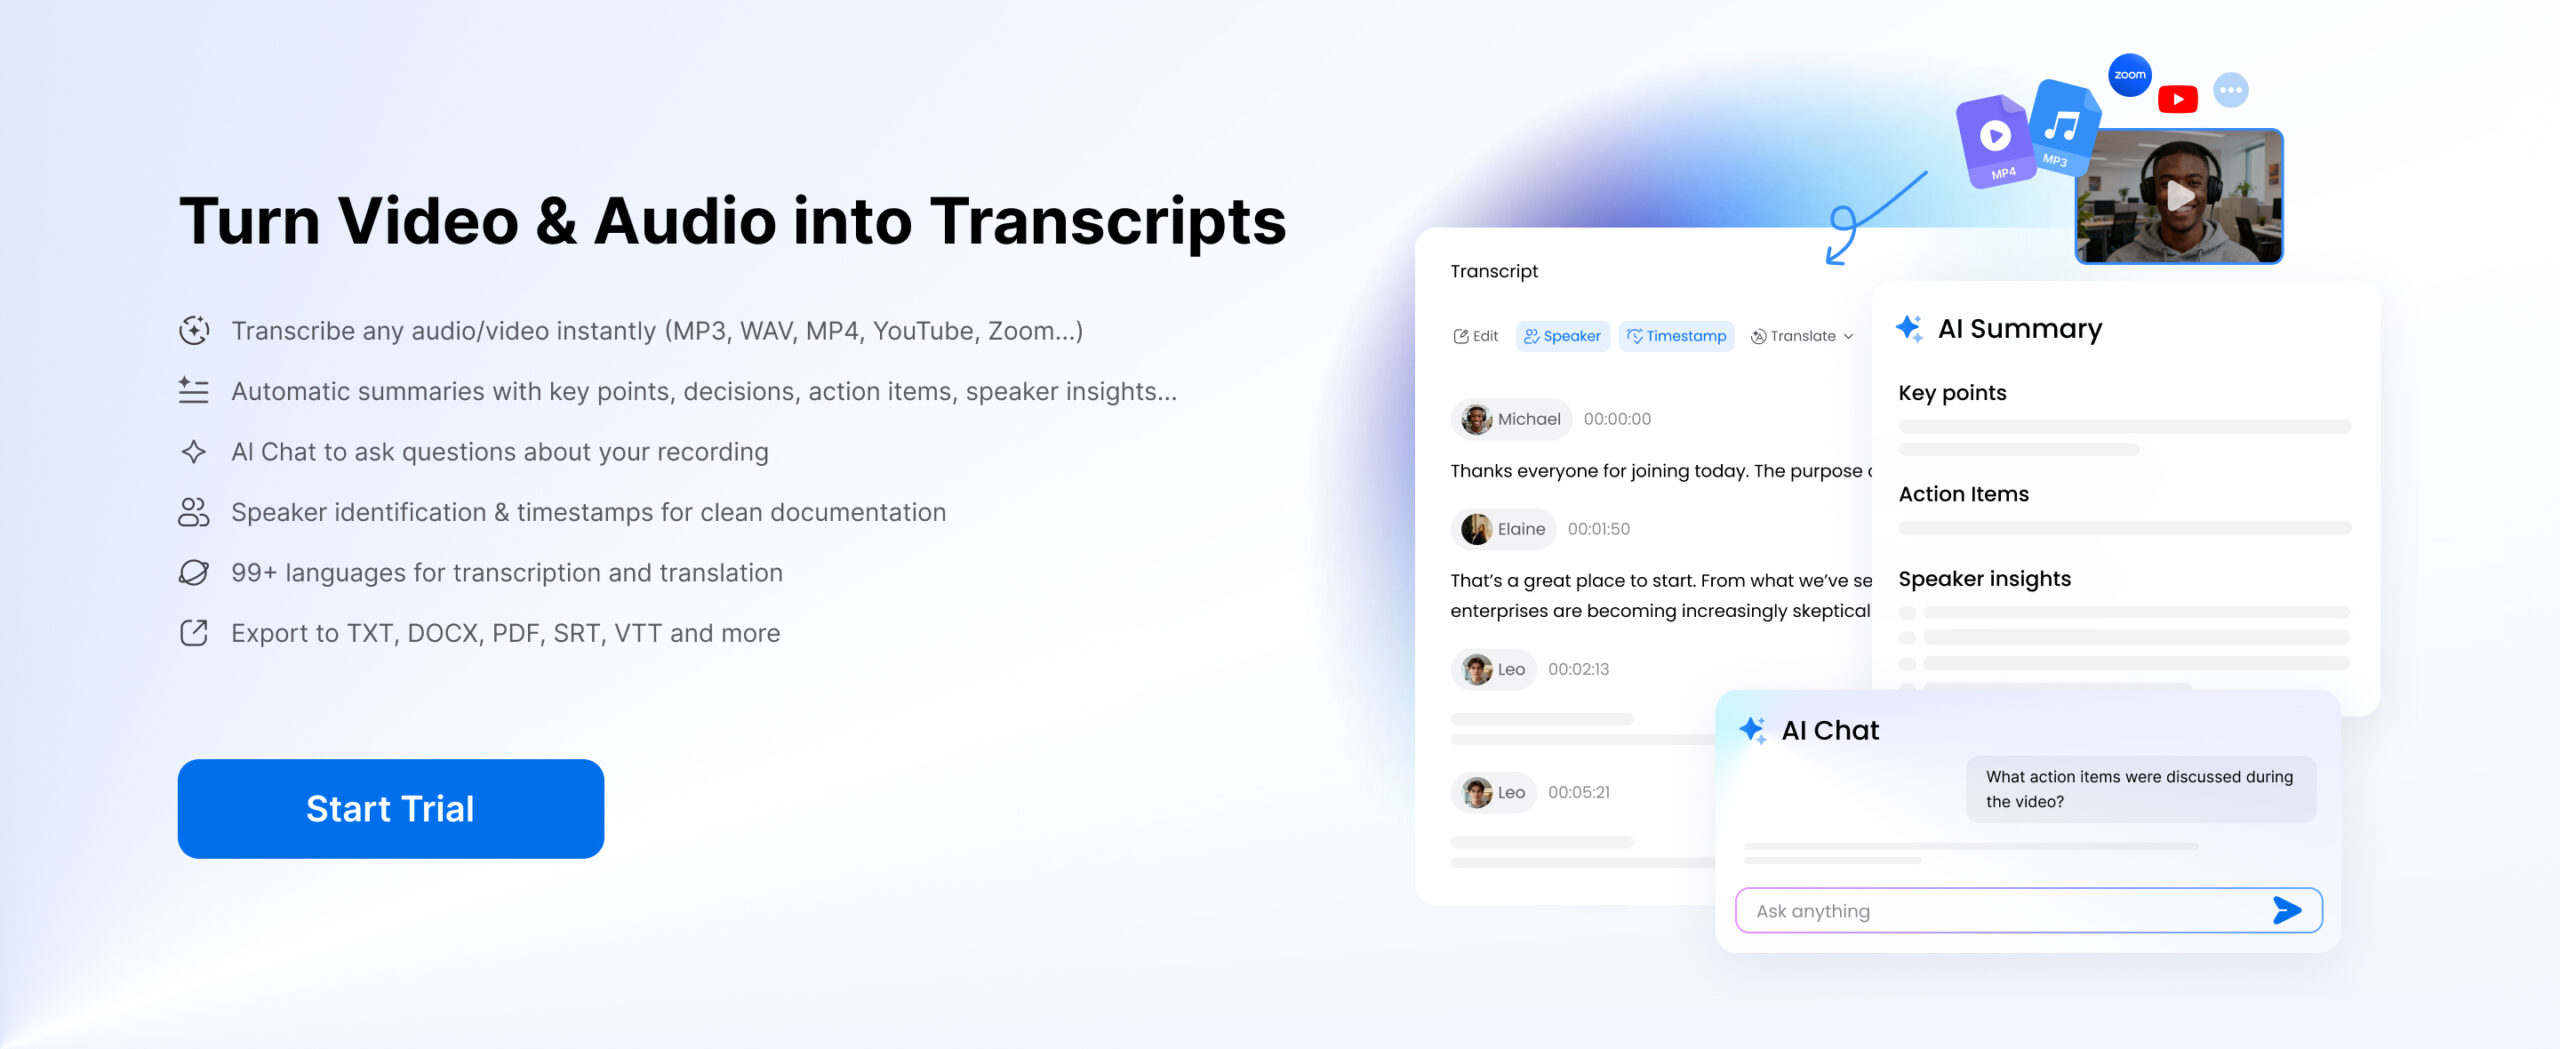
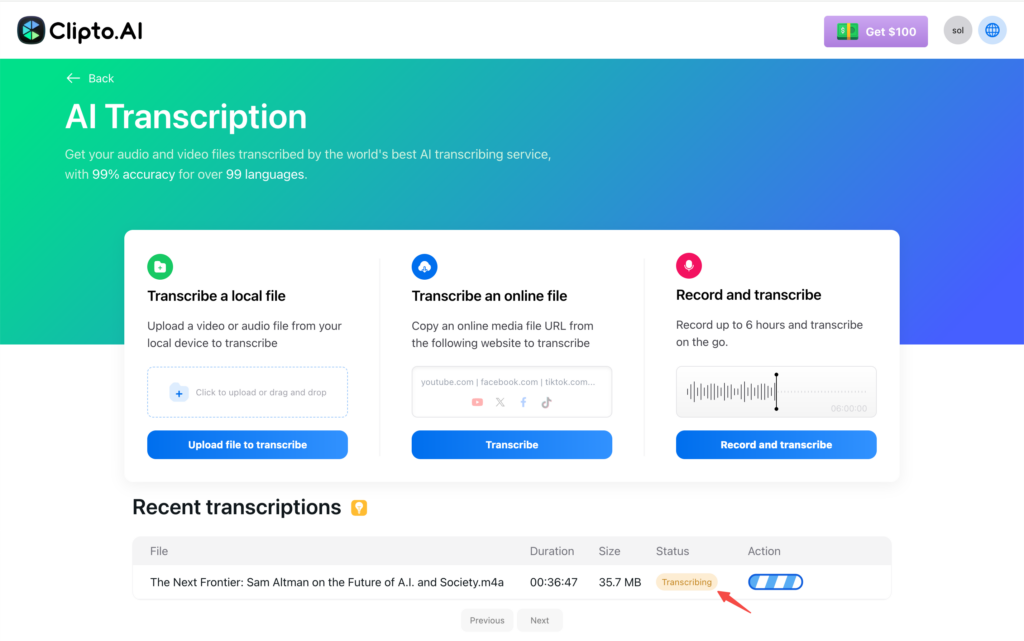
- Upload your video or audio file to the Clipto.AI platform. It supports various formats, including MP4, MP3, WAV, and more. Once uploaded, Clipto.AI automatically processes your file and generates a transcript within minutes.
- Choose the target language you want to translate your subtitle into. Clipto.AI supports over 99+ languages.
- Review the generated transcript to ensure its accuracy. Clipto.AI includes an intuitive editor where you can correct any errors, refine the text, and adjust the formatting for better readability.
- Export the finalized transcript in your preferred format. Popular options include .srt for subtitles and .txt for general use.
How to Add Multilingual Subtitles to a YouTube Video
- Log in to your YouTube Studio, navigate to the Content section, and select the video you want to add subtitles to.
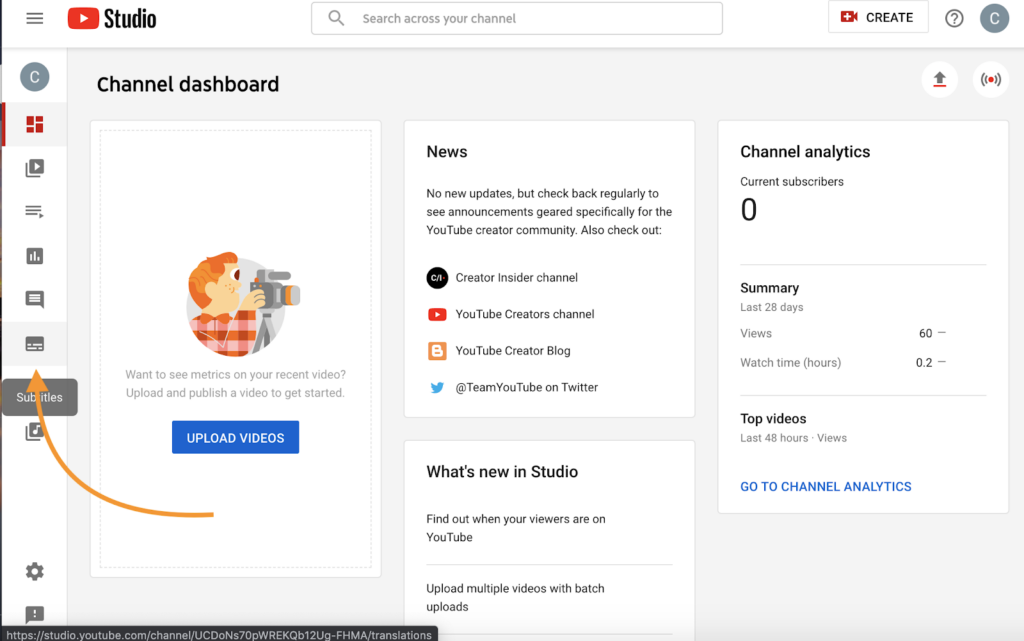
- Click on the Subtitles tab in the left-hand menu.
- Under the Add Language section, select the desired language from the dropdown menu.
- Choose Add Subtitles, then upload your translated subtitle file or use YouTube’s Subtitle Editor to type them manually.
- Preview the subtitles to check their timing and formatting. Once satisfied, save and publish them, allowing viewers to select their preferred language from the video’s settings menu.
Why Choose Clipto.AI as a YouTube Video Translator?
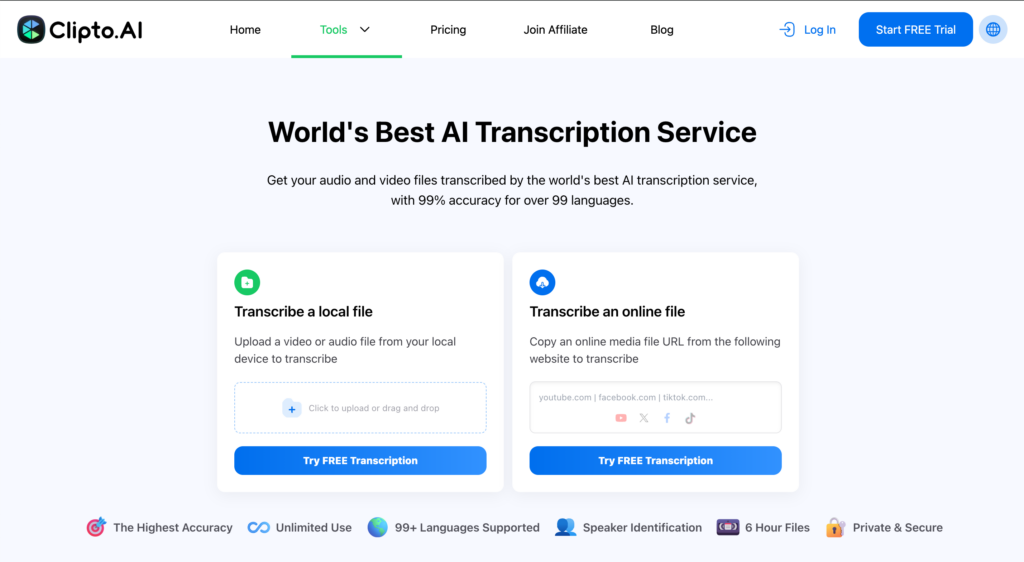
Clipto.AI is an excellent translator tool for video creators looking for accurate and versatile subtitle generation and translation. Its high level of accuracy ensures that the text closely matches the spoken content, even in complex or nuanced dialogue. Unlike some tools limited to English, Clipto.AI supports over 99 languages, making it highly flexible. It can automatically translate subtitles from English to other languages, as well as between multiple non-English languages, making it ideal for reaching global audiences.
While Clipto.AI offers impressive features, it’s worth noting that it is a third-party tool that operates outside YouTube Studio. Additionally, it is not free and requires a subscription.
Option 2: Create and Translate Subtitles Using YouTube’s Auto-Captioning
YouTube’s auto-captioning feature offers a convenient and free way for creators to generate and translate subtitles for their videos. To begin, upload your video through YouTube Studio. Once your video is processed and published, YouTube automatically generates captions based on the audio content. This tool works best with clear, high-quality sound, as background noise or overlapping dialogue may reduce accuracy.
After generating the captions, go to the Subtitles section in YouTube Studio to review them. While this feature is helpful, the captions are created through automated speech recognition technology, which can result in errors, especially with technical jargon, accents, or unclear speech. You can make adjustments directly in YouTube’s editor, aligning the text with your spoken words and correcting any misinterpretations.

Once the captions are refined, YouTube allows you to translate them into multiple languages. Simply add a new language in the Subtitles section, then input the translated text manually or upload a translated subtitle file in formats like .srt. After saving and publishing, viewers can select their preferred language while watching the video.
What Are the Limits of YouTube Captions for Translation?
YouTube’s auto-captioning is a handy built-in feature that lets creators generate and manage subtitles directly in YouTube Studio—no extra tools needed. But it does come with limitations. The accuracy of captions often depends on the clarity of the audio, how fast someone speaks, and their accent. This can result in errors or missing words.
More importantly, YouTube does not automatically translate these captions. If you want subtitles in other languages, you’ll need to manually add translations or upload them yourself.
Translating YouTube Video Subtitles as a Viewer
As a video viewer, there are moments when you might want to convert a video into text—whether it’s for better understanding, creating notes, or repurposing content for your projects. Thankfully, a few effective options can help you achieve this with ease.
Option 1: Use YouTube’s Built-In Subtitles and Translation Features
Many YouTube videos have subtitles to help viewers follow along. Here’s how to activate them:
- For videos with pre-translated subtitles:
- Click the CC (Closed Captions) button at the bottom of the video player.
- If multiple languages are available, click the gear icon, go to Subtitles/CC, and choose your desired language.
- For videos without pre-translated subtitles:
- Click the gear icon on the video player.
- Select Subtitles/CC and then click Auto-translate.
- A list of languages will appear—select the one you prefer.
While YouTube’s subtitle and translation features are convenient, there are notable limitations that may make this approach unsuitable for certain situations:
- Downloading Subtitles: YouTube doesn’t allow users to download subtitles from videos directly. You must rely on third-party tools or browser extensions to save the subtitles for offline use or further study.
- Inaccurate Translations: Auto-translation often struggles with slang, idioms, or culturally specific phrases. These nuances can lead to awkward or incorrect translations that distort the video’s intended meaning, leaving viewers confused.
- Complex or Technical Content: For videos with detailed or specialized content, such as technical tutorials or scientific explanations, translation errors can result in misinformation or an incomplete understanding of the material. This can be particularly problematic if accuracy is critical.
Option 2: Translate YouTube Videos and Convert Them into Text via Clipto.AI
Clipto.AI is a powerful tool for viewers looking to easily translate and convert YouTube videos into text. With support for over 99 languages, it offers seamless transcription and translation, perfect for note-taking, studying, or repurposing content across platforms.
Step 1: Download the YouTube Video (Optional)
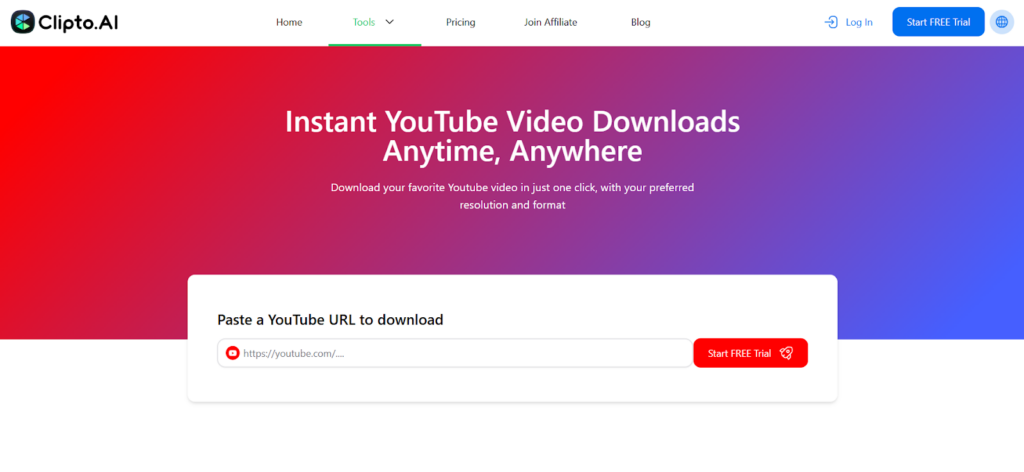
At Clipto, you can easily convert YouTube videos into text by uploading the video file or simply providing the URL. This flexibility ensures a seamless experience, whether you prefer to work with a downloaded file or a direct link.
If you choose to download the video, numerous tools are available online to assist you. When downloading content, adhere to copyright regulations and YouTube’s terms of service. For your convenience, Clipto offers a straightforward method to download YouTube videos directly, making the process even simpler and faster.
Step 2: Upload Your Audio or Media URL
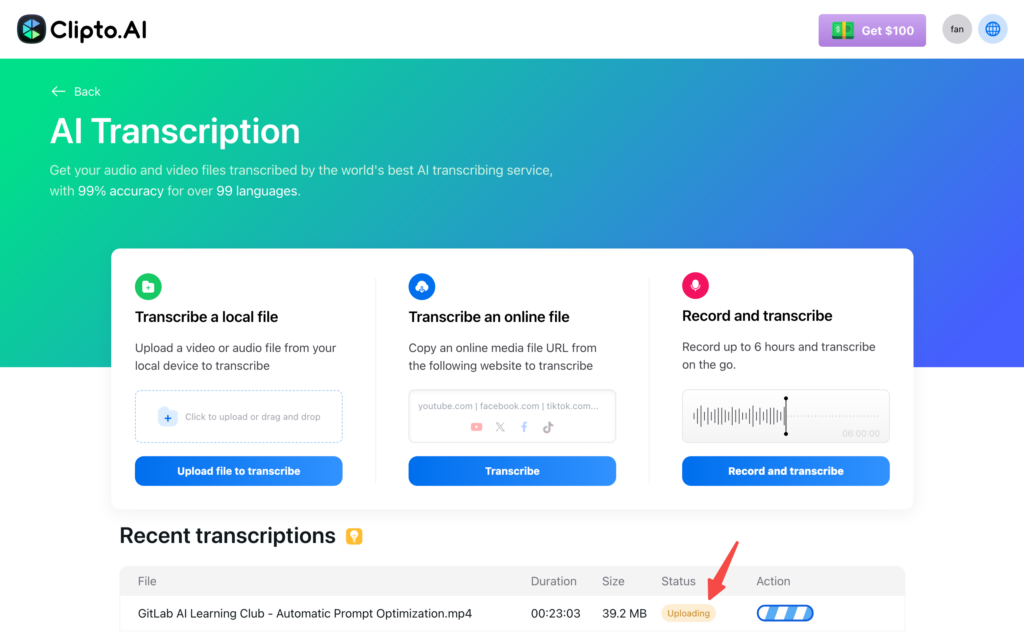
After obtaining your video, the next step is to upload it to the Clipto.ai platform to convert it into text. Here’s how you can proceed:
- Sign Up for a Clipto.AI Account: Create an account if you’re new to the platform. It grants you access to all the powerful tools needed for transcription and translation. Plus, you’ll enjoy a 7-day free trial to explore and experience everything Clipto.ai offers without commitment.
- Upload Your Media:
- Upload the audio or video file from your device.
- If the media is hosted online, paste the URL (e.g., YouTube link) directly into the platform for seamless processing.
Step 3: Select Your Language Options
Clipto.AI offers a highly customizable approach to transcription and translation, ensuring accurate results tailored to your needs. Here’s how you can set your language preferences:
- Choose the Original Language: Clipto.ai makes it easy to configure language settings for your transcription and translation needs. Use the “Auto Detection” feature to automatically identify the language spoken in the video—this saves time and ensures accurate transcription by eliminating the guesswork. Alternatively, you can manually select the original language for precise transcription, giving you full control over the process.
- Select Your Target Language for translation: You can choose from over 99 available languages, including popular options like English, Spanish, French, Chinese, and Portuguese. This wide range ensures accessibility to global audiences and multilingual projects.
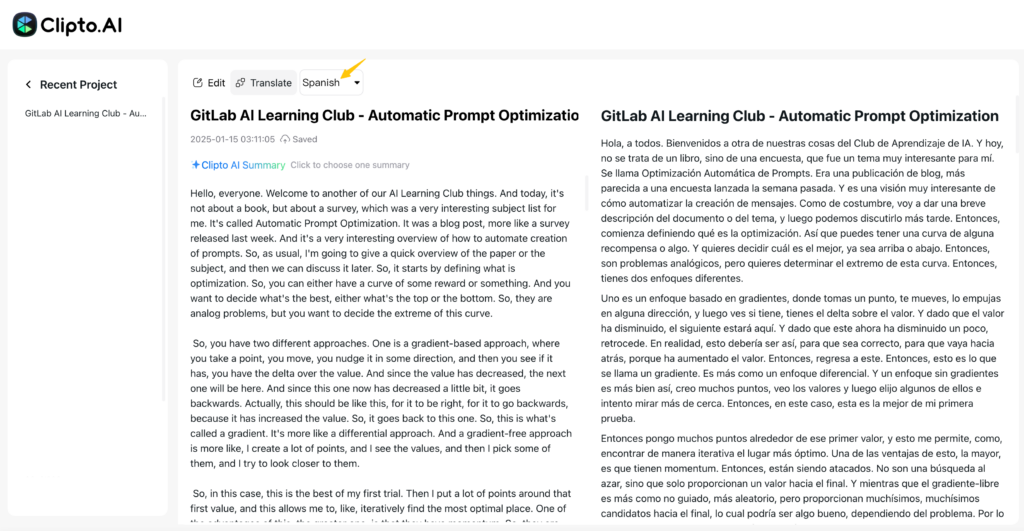
For example, if you’re working with an English YouTube video and want to translate it into Spanish, you can let Clipto.ai automatically detect English as the original language. Then, select Spanish as your target language. Clipto.ai will process the video, transcribe the English audio, and generate an accurate Spanish transcript translation.
In addition, Clipto.ai supports multilingual translation, making it easy to convert content from English to other languages or between non-English languages. This flexibility ensures your content is accessible to a global audience, regardless of the languages involved.
Step 4: Preview and Save Your Transcript
Once Clipto.ai has processed your video, it will generate an accurate transcript and translation within minutes. This step allows you to review and refine the output before sharing or using it. Here’s how you can make the most of this stage:
- Preview Your Transcript:
After processing, click “View” to preview the generated transcript. The platform displays the content in an organized format, making it easy to review the text and verify its accuracy. - Edit Directly Within the Platform:
Clipto.AI provides intuitive editing tools that allow you to make changes directly in the transcript if any adjustments are needed. Whether it’s correcting minor errors, adjusting formatting, or refining translations, the platform offers a seamless editing experience to ensure the final output meets your expectations. - Download in Your Preferred Format:
Once you’re satisfied with the transcript, download it in a format that suits your needs. Clipto.ai supports various formats, including DOCX for detailed document editing, TXT for plain text use, SRT for subtitles, and VTT for web-compatible captions.
Wrap Up
Translating YouTube videos into multiple languages, whether as a video creator or a viewer, is more accessible than ever with the tools and features available today.
While each tool has advantages and limitations, the right choice depends on your goals and needs—convenience, accuracy, or multilingual flexibility. With the insights shared in this blog, you’re now equipped to break language barriers and make the most of YouTube’s translation capabilities. Start translating today and create a more connected and accessible digital world!

