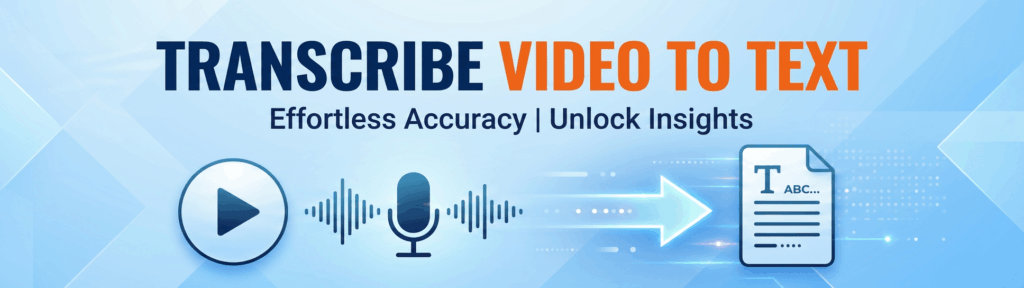
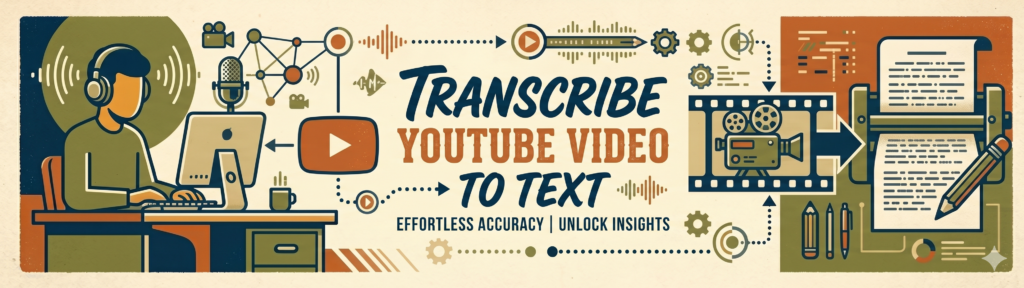
If you want to find some details from a long meeting, interview or class recording, it’s really annoying to drag the progress bar repeatedly, and it’s easy to miss the original words you need. But if you transcribe audio to text, you can directly search for names, key points and citations. After reading it, you can use it directly without flipping through the recording from the beginning. Next, we will introduce a few simple ways to help you convert the recording into text. Some are fast and free, and some are more complete and suitable for scenarios with higher requirements for effect.

Part 1: Transcribe Audio to Text with Clipto Online
If you want to get a reliable transcript quickly, using Clipto is a good choice. Especially when the recording is long or there are multiple speakers in it, AI can be of great help.
Step 1. Upload or Record Audio
Upload an audio file, or paste a media link to start transcribing. Need a new recording? Just click Record to capture audio and create a transcript instantly.

Step 2. Generate Audio Transcripts
Once your file, recording or audio online is uploaded, Clipto automatically converts the spoken content into text. Within minutes, you’ll receive a searchable transcript with speaker identification and timestamp, making it easier to review, edit, and reuse the content.

Step 3. Enhance Audio Transcript with AI (Optional)
After generating the transcript, you can use additional AI features to get more value from your content.
Translate – Convert the transcript into multiple languages while preserving its original meaning and context.
AI Summary – Generate a concise overview of the transcript, highlighting key topics, takeaways, and action items.
AI Chat – Ask questions about the transcript and instantly get specific answers without reading the entire text or replaying the audio.

Step 4. Export Audio Transcript
Download the transcript in the format you need, such as docx, txt, or srt.

Part 2: Transcribe Audio to Text with Clipto App (For Private Files)
If you are working with sensitive recordings, a desktop app can feel more comfortable than uploading everything to the web. Clipto app is a good fit when you want to transcribe local files, keep things organized, and export clean transcripts fast.
Step 1. Add Audio Files to Audio Transcription Tool
Open the Clipto app, then add your file by dragging it into the library area, or use the import box if you have a link, or record live if that is easier.

Step 2. Create Audio Transcripts
Wait for the file to finish processing, you will see it appear in your library with a status indicator.
Open the file and start shaping the transcript. Turn on Timestamp when you need to jump to exact moments, use Speaker to label different voices, use Translate if you need another language, check the AI Summary for a quick overview, and use the AI chat panel to ask questions like “what were the action items” or “pull the key quote.”

Step 3. Export Audio Transcript
When you are ready, click Export and choose the format that matches your workflow, such as Microsoft Word (.docx), TXT, Subtitle File (.srt), Subtitle File (.vtt), Adobe Premiere (.xml), or Final Cut Pro (.fcpxml).

Part 3: Transcribe Audio to Text with Google Docs
Google Docs Voice Typing is one of the easiest free ways to transcribe audio to text. It works directly in your browser and requires no additional software.
However, it is designed for real-time speech recognition rather than file transcription, so accuracy may decrease with background noise, multiple speakers, or poor audio quality. You may also need to spend extra time editing the transcript afterward.
Step 1. Open Google Docs
Go to Google Docs in your browser and create a new document.
Step 2. Enable Voice Typing
Click Tools in the top menu and select Voice typing. Choose the language that matches your audio.
Step 3. Start Audio Transcribing
When the microphone icon appears, click it to start recording. Then play your audio through a phone, speaker, or another browser tab. You can also read the audio aloud if you only need a rough transcript.
Step 4. Review and Edit the Audio Transcript
After the transcription is complete, review the text and correct any mistakes. Add punctuation, fix names and technical terms, and organize the content into paragraphs to improve readability.
Step 5. Save or Export the Audio Transcript
Once the transcript is cleaned up, copy it to another document or continue editing it in Google Docs for future use.

Part 4: Transcribe Audio to Text with the Transcription Function of App
Now some apps will directly display the transcribed text in the playback interface, and you can listen and watch at the same time. This function is especially suitable for the scene where you just want to confirm a certain sentence, quickly extract a quote, or jump to a certain point in time, without pulling the progress bar everywhere.
Apple Podcasts
In the supported single episode, the transcribed text will be synchronized with the audio, and which word will be highlighted. You can jump directly to that position by clicking a word or a certain line. It is quite convenient to use it to quickly check the content and take notes.
Spotify
Some programs will also display the transcribed manuscript in Spotify. You can scroll while listening to it to find the part you want faster. However, this function is not available in every program. Maybe you can watch this episode, but it will be gone in another episode.
The disadvantage of the app’s own transcription is that it is not flexible enough. It is convenient to use it for reference, but editing tools and export options are usually quite limited. If you want to take a clean document to share or use for the second time, this is not enough.
Part 5: Transcribe Audio to Text with Manual Transcription
If you care about every word, manual transcription is still worth considering. For example, you need a version that is accurate to the wording, or you are polishing a draft and have very detailed requirements for tone, rhythm and focus. Although typing is slower, the sense of control will be much stronger.
The tradeoff is real. It takes time, it requires focus, and it is easy to lose your place when the audio is fast or messy. For a long meeting or lecture, you should expect to pause often, rewind a lot, and do a second pass to fix spelling, punctuation, and names.
A simple way to do it looks like this:
Step 1. Play the recording in a media player with easy rewind controls.
Step 2. Open a document in Google Docs or Microsoft Word.
Step 3. Type as you listen, pausing and rewinding whenever you need to.
Step 4. Add timestamps or section breaks as you go, then export the final text when you are done.
Part 6: Transcribe Audio to Text with ChatGPT
If you are working with a short voice memo or you only need one quote or a quick recap, ChatGPT can be a convenient way to transcribe audio to text free AI style when you are in a hurry. It works best when the clip is short, the speaker is clear, and you do not need a full transcript.
How to use ChatGPT for a short transcription
Step 1. Upload a short audio file, since file size limits can make long recordings harder to handle.
Step 2. Write a clear request, such as transcribe the clip, pull the exact quote, or summarize the key points.
Step 3. Copy the result into your notes, then read it once to fix names, punctuation, and any words that sound off.
Keep expectations realistic. Noisy recordings, heavy accents, and people talking over each other can reduce accuracy, and long audio can be unstable to process in one go, so for full meetings or multi speaker interviews, a dedicated transcription workflow is usually the safer choice.
Part 7: Tips to Get More Accurate Audio Transcripts
Develop some small habits before recording, and the effect is more obvious than most people think. Try the following ones, and you can save a lot of effort by revising the manuscript later.
- Put the microphone closer
Keep your mobile phone or recording device as close to the speaker as possible, and don’t put it on the edge of the table. If you listen to it and feel that the sound is far away, the effect of the transcription is not much better. Record it for ten seconds first. If the voice sounds weak, try to get closer.
- Reduce echo and background noise
There will be echoes in empty rooms and hard walls, and it is easy to paste the sounds together. Close the door, turn off the fan, and stay away as much as possible if there is a vent. Softer things can absorb sound, such as recording next to curtains or sofas, and the sound will be clearer. If you are outdoors, pay attention to the wind, and the microphone is facing the speaker.
- Avoid people talking at the same time.
When the voices are stacked together, even if you know what you are talking about, it is difficult to hear clearly. During the meeting, you can ask everyone to finish one after another. For interviews, leave a small blank space behind each question, so that the part of the answer will be cleaner. If you have a good chat, remind me once, and then continue to record.
- Read the name out
At the beginning, ask everyone to report their name. In the process of chatting, the name was naturally brought out, such as “Kerry, can you confirm it?” When you look back at the transcript, you will know which sentence was said by who. It will be much easier to tag different speakers later.
- Write down tricky words first.
If you know that the product name, abbreviation or strange surname will appear in the recording, write it down before starting the recording. If a name is particularly important, spell it on the spot when recording. When processing the transcript later, you can quickly replace the wrong parts by searching directly. It saves time in this way, and also accurate to quote.
Conclusion
In fact, there is no standard answer to which transcription method is the best. It all depends on how accurate the text you want and how much time you are willing to spend. If you have requirements for every word, it’s not impossible to type by hand, but you have to be a little patient. On the other hand, if you value speed the most, the online tool and automation scheme can quickly give you a draft, as long as you change it later.
If you want to find a more comfortable balance between speed and readability, it is a practical choice to use Clipto to convert long recordings into text that can be searched, reviewed and reused. In the end, the purpose is very simple: transcribe audio to text, so that you don’t have to listen to the recording over and over again, but you can also find the key points, extract quotations, and share clear notes.
FAQ
1. What audio and video file formats can I use?
Most transcription tools recognize common formats such as MP3 and MP4, and many also support WAV, M4A and MOV. If your file can’t be uploaded, you might as well convert it to MP3 or MP4 first, which can be used anywhere.
2. Can I transcribe a recording by pasting a link instead of uploading a file?
Some tools let you paste a media URL, which is handy when your audio is already hosted online. If that option is not available, downloading the file and uploading it is usually the simplest workaround.
3. Do transcription tools support different languages?
Yes, many platforms can handle multiple languages, not just English. However, the range of languages supported by each tool is different. If you often need to handle bilingual meetings, interviews or courses, you’d better see which languages it supports first.
4. Can I edit the transcript after it is generated?
Yes. Even a strong transcript usually needs a quick pass to fix names, remove filler words, and clean up punctuation. Editing also helps when you want the final text to read smoothly, especially for interviews or quotes you plan to publish.
5. Does audio quality affect transcription accuracy?
Absolutely. Clear audio is the biggest factor, so try to reduce background noise and keep the speaker close to the microphone. If people talk over each other or the recording is muffled, you will likely spend more time correcting the transcript.